Creating a Calendar
This page is best viewed in landscape and/or on larger screens.
1. Choose photos & add captions
With a calendar month selected, click on a photo to match it to the month.
As you choose each photo you can opt to add a short personal caption for each month. This caption is in addition to the photo's title which always appears next to it.
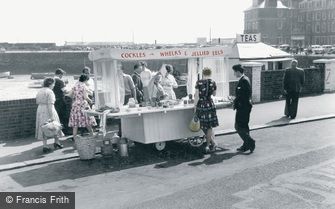 50s & 60s
 Art Deco
 Aviation
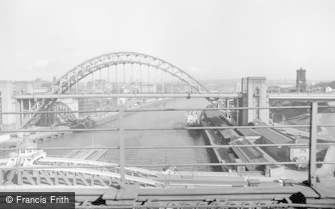 Bridges
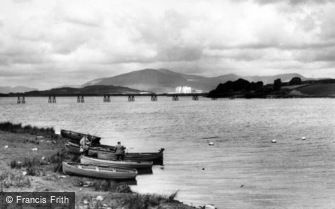
 Britain's Coasts
 Canals and Waterways
 Colour Contrast
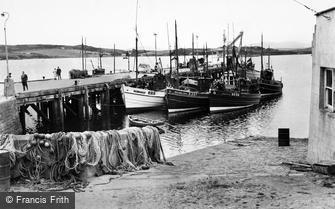
 Fishing
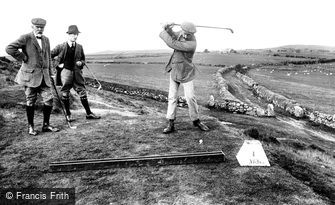 Golf
Golf
 Hand Coloured Photographs
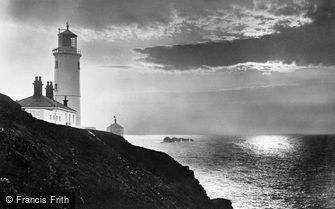
 Lighthouses
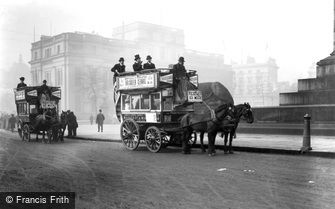 London
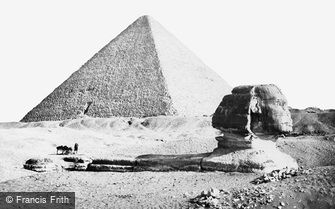 Middle East
 Milestones of Engineering
 Military
 Motoring
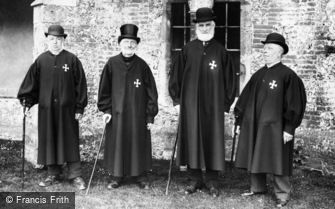 People & Characters
 Photos of Lost Britain
 Piers
Piers
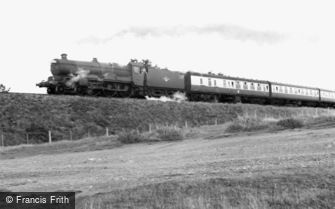 Railways
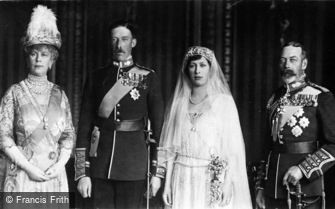 Royalty
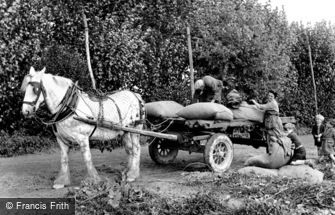 Rural Life
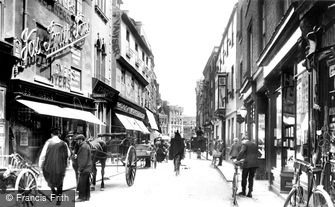 Urban Life
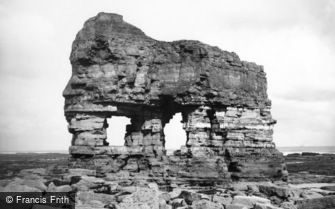
 Victorian Whimsy
 War Memorials
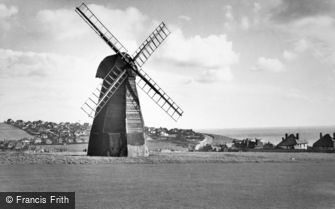 Windmills
Please note, all
portrait orientation
images are excluded from these search results.
Why?
Options:
Here you can choose the Month/Year you wish your calendar to start, select the photograph which will appear on the cover and type an optional cover dedication message:
Calendar Start Month:
Cover Photo:
(A3 only, all photos appear on the Appointment format cover)
Dedication Message:
New!
(Optional, limit 140 characters)
January

No caption
February
No caption
March
No caption
April
No caption
May
No caption
June
No caption
July
No caption
August
No caption
September
No caption
October
No caption
November
No caption
December
No caption
Tips
1. If you add your own caption, this is in addition to the photo's title on each month.
2. To change a photo, select the month and pick another photo. The newly selected photo will replace the one that you first chose.
3. On the appointment style calendar cover, all 12 photos are shown. Selecting a cover photo only applies to the A3 format.
2. To change a photo, select the month and pick another photo. The newly selected photo will replace the one that you first chose.
3. On the appointment style calendar cover, all 12 photos are shown. Selecting a cover photo only applies to the A3 format.